
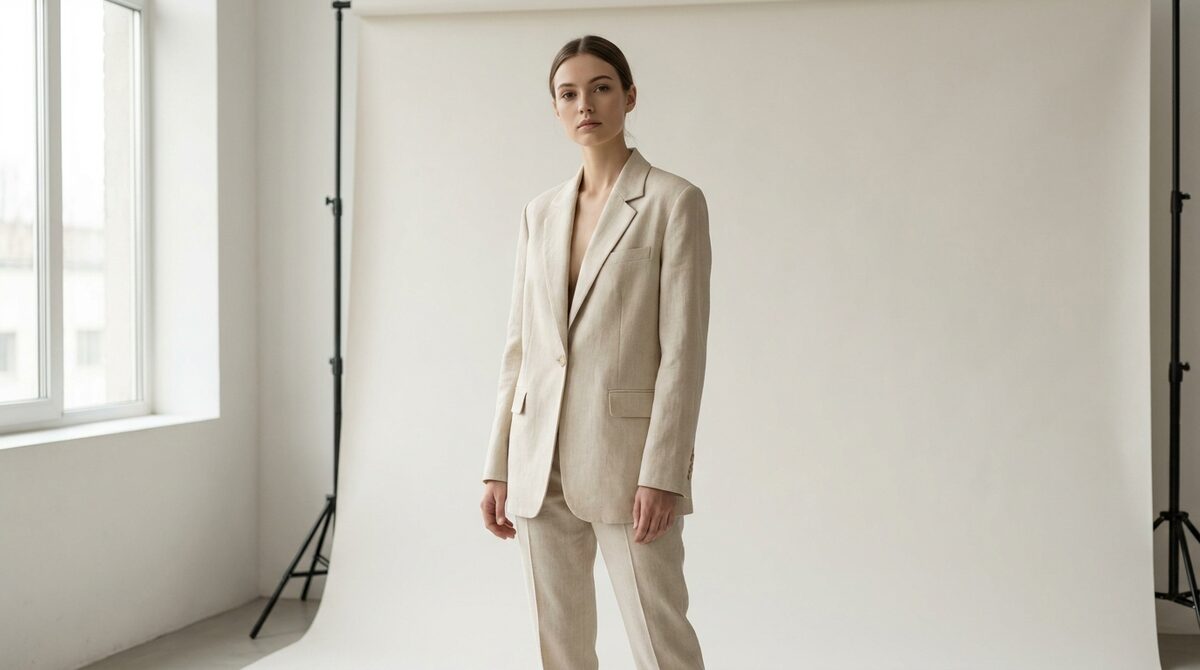
To create AI fashion models, prep a clean product photo, pick a generator, set pose and body type, review artifacts, and publish, all from existing photos with no 3D. 1Match then turns that imagery into sales: a virtual try-on on the shopper's own body that captures first-party leads, powers funnel analytics, and keeps photos zero-storage and GDPR-safe.
Before you start: what you actually need
Learning how to create ai fashion models is less about fancy prompts and more about clean inputs and the right tool. You need one good source photo per garment, a generator, and a clear idea of the customer you want the model to resemble. Because the whole approach uses your existing product photos, there is no 3D and no reshoot involved.
Step 1 — Prep your product photo
Use a sharp flat lay, ghost-mannequin or on-mannequin image with even lighting and accurate color. Steam out wrinkles, shoot on a plain background, and keep prints and logos crisp. The generator inherits whatever it is given, so a clean input is the single biggest quality lever, more than any setting.
Step 2 — Choose the right tool
Match the tool to your scale. App-based generators suit small catalogs and non-technical teams; API tools suit bulk pipelines. If your real objective is conversion rather than lookbook art, plan from the start to add a virtual fitting room on top of the imagery.
Step 3 — Set pose, body type and scene
Pick a pose that shows the garment's key features, a front view for prints, three-quarter for silhouette. Choose a body type and skin tone that reflects your audience, and select a background that fits your brand. Render several variations so you can pick the cleanest frame.
Step 4 — Review for artifacts
Zoom into hands, collars, seams, buttons and any text. These are where AI slips. Reject frames with warped logos or smeared patterns, and always cross-check color against your original photo. When the tool has strong image quality, this step is quick; when it does not, it saves you from publishing something off-brand.
Step 5 — Publish, then add on-body try-on
Generated models make your catalog look professional, but they still show the garment on a stranger. Apparel returns are mostly about fit, so the highest-leverage move is to let each shopper see the item on their own body. That is the job of a try-on, and it is what turns a nice catalog into sales.
Common mistakes to avoid
Do not feed the generator low-resolution or heavily shadowed photos, do not publish without checking prints and hands, and do not assume synthetic models alone will cut returns. They improve browsing, but personal fit confidence is what changes purchase behavior. For the wider playbook, see our complete virtual try-on guide.
A quick checklist before you publish
Run every frame through a short checklist: color matches the original, prints and logos are undistorted, hands and seams look natural, the pose shows the garment's key feature, and the background fits your brand. Reject anything that fails, regenerate, and only then publish. This five-second habit prevents off-brand imagery from slipping into your catalog.
Finally, decide how the imagery connects to conversion before you scale. Generating a hundred model shots is easy; making them sell requires the shopper to see the garment on their own body. Wire in an on-body try-on so the polished catalog you just built actually moves add-to-cart, not just admiration.
Scaling from one product to a full catalog
Creating one AI model shot is easy; the skill is doing it consistently across hundreds of SKUs. Batch your uploads, lock a house style so every render shares the same lighting and framing language, and keep a rejected-frames folder so you learn which garment types need extra attention. Prints, sheer fabrics and heavy layering usually need more review passes than solid basics.
As volume grows, the review step becomes your quality moat. Automated generation is commoditized; disciplined curation is not. Pair that curated catalog with an on-body try-on and you convert the trust your imagery builds into actual purchases, which is the entire point of learning how to create AI fashion models in the first place.
Turning your new imagery into a growth engine
Once you know how to create ai fashion models, the last step is converting the traffic they attract. 1Match is a virtual try-on Shopify app that shows every garment on the shopper's own body from your existing photos, captures first-party leads, powers funnel analytics, and keeps uploaded photos zero-storage and GDPR-safe. Fashion-first, no reshoot, and live in about ten minutes across clothes and accessories like rings, glasses and hats, it turns polished catalog imagery into a measurable Shopify growth engine, lifting add-to-cart 18-28% and cutting returns 25-40%. Install 1Match to finish the funnel.
Frequently asked questions
How do I create AI fashion models from my products?
Start with a clean, well-lit product photo, choose an AI model generator, upload the image, then select pose, body type and background. The tool renders a photorealistic model wearing your garment, which you review and export. The whole process takes minutes per image.
What source photo works best?
A sharp flat lay, ghost-mannequin or on-mannequin shot with even lighting and true colors gives the cleanest result. Avoid heavy shadows, wrinkles and busy backgrounds, since the generator carries those flaws into the final render.
Do I need design or coding skills?
No. Most consumer tools are point-and-click with preset poses and backgrounds. API-based tools like FASHN need technical help, but app-based options require none, and a try-on app such as 1Match installs in about ten minutes.
How do I make AI models actually increase sales?
Generated models improve catalog polish, but conversion climbs most when shoppers see items on their own body. Pair your AI imagery with a virtual try-on so browsers get both aspiration and personal fit confidence, which is what reduces returns.
 Install on Shopify